Pinterest is a great place to brand yourself, serve your audience with great content and grow your email list. A great way to confirm how legit you are is claiming (also known as verifying) your website on Pinterest. It’s one of the most important steps of starting a business account. Why? You’ll soon see.
In this post, we’ll talk about it’s so important that you claim your website on Pinterest and how to do it (without a line code).

Claiming Your Website on Pinterest
For those wondering… Why you should claim your website on Pinterest
As I said, claiming your website is one of the most important steps of starting a business account and it has to be done before you can apply for Rich Pins. It may sound weird but this small change can seriously increase your chances of sending traffic to your content, growing an audience, and building your business.
Claiming your website signals to Pinterest that you are an authentic business and Pinterest should be distributing your content. Unlike Facebook, Pinterest is business and content creator-friendly and always helps your content get seen (if only you make the effort).
After verifying, all and any pins coming from your domain will be automatically associated with your Pinterest profile. Your profile photo and name will be added to the pin and users can click through to your website – this helps build brand awareness.
Another great benefit you’ll get by verifying your website is access to is website analytics with information on what content your audience interacts with and saves the most and how your pins are doing.
How to Claim Website on Pinterest (for WordPress users)
To claim your website, you’ll have to have a Pinterest business account.
Recommended: How to Convert Your Personal Account Into A Pinterest Business Account
As of 2022, you can claim multiple websites per one Pinterest account and it has to be either your main website domain (www.yourbrand.com), a subdomain (subdomain.yourbrand.com), or a subpage like www.yourbrand.com/blog.
NB! This instruction is WordPress-specific. If you’re using Squarespace, please refer to their instruction.
Step 1
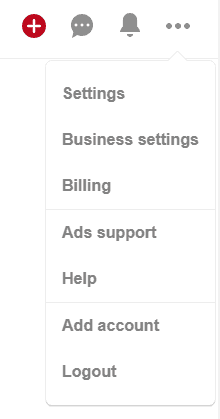
Log into Pinterest, click on the three dots in the top right corner, and select Settings.
Step 2
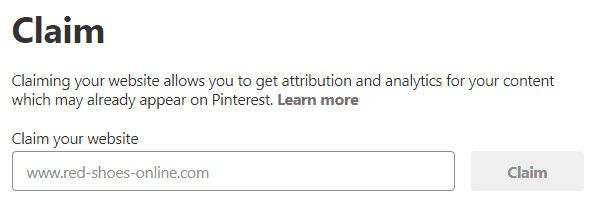
Click on the Claim section under your Pinterest settings. Enter your URL and click Claim.
Step 3
You can claim your website either by adding a meta tag to your website header or uploading an HTML file to your website’s root folder.
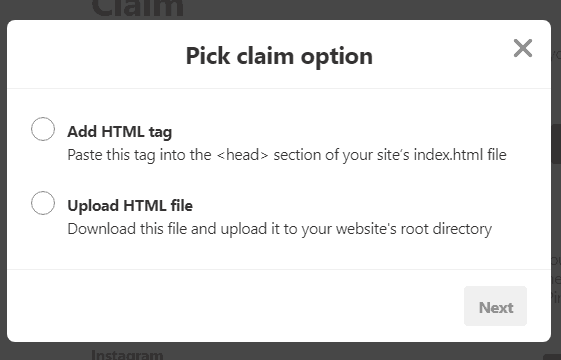
For most people adding a meta tag into the header is easier but for the sake of this tutorial, I’m going to show you both ways.
Claim your website with HTML tag
Step 1
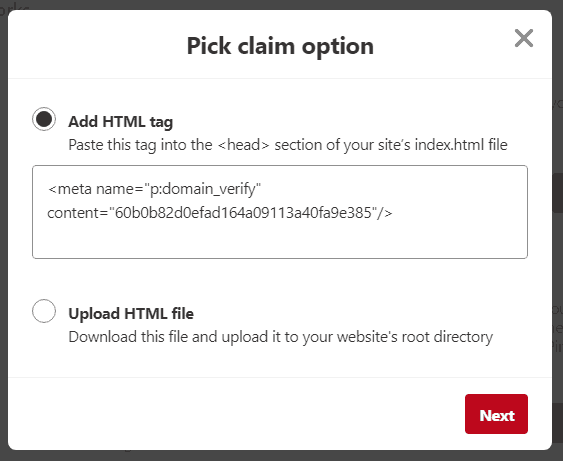
To add a tag into the header of your website, pick Add HTML tag and select Next.
Step 2
You’ll need to copy the code into the head section of your site so copy it to the clipboard before moving on. Leave the Pinterest window open.
There are two ways to add the code into the header.
First, check your theme options – you might have a built-in script option. In that case, paste the code under header scripts and save changes.
If your theme doesn’t have a script option, simply install the Insert Headers and Footers plugin and activate it.
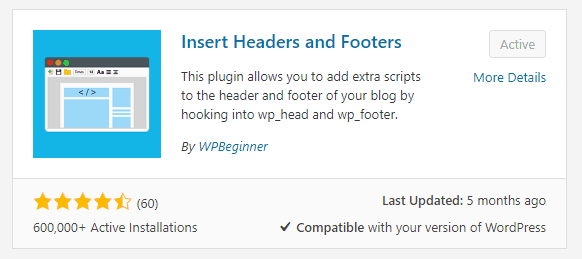
Step 3
Navigate to Settings -> Insert Headers and Footers and paste the code under Scripts in Header. Click Save.
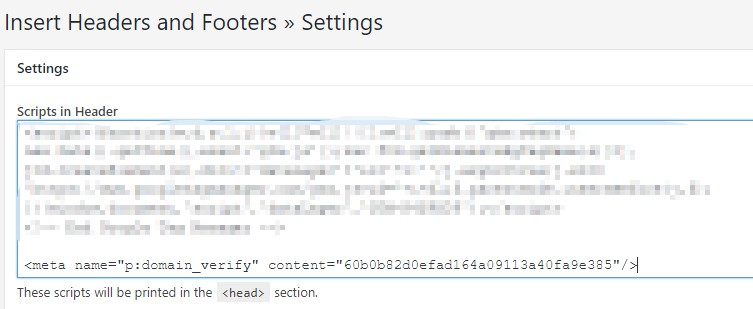
Step 4
Go back to Pinterest to finish the process. Click Next in the Pick claim option window you left open earlier.

You’ll be taken back to the settings page and there should be a green confirmation that the review process is happening. You’ll receive a confirmation email. The process can take up to a day but generally, it happens within 30 minutes. My website was confirmed within 15 minutes.

Every once in a while Pinterest glitches and it doesn’t work. In that case, go through the process again.
Claim your website by uploading HTML file
Step 1
From the Pick claim option window select Upload HTML file and download the file. Don’t close the Pinterest tab yet.
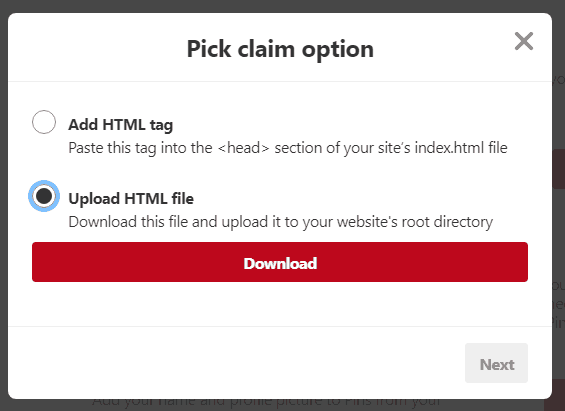
The HTML file usually looks something like this:

This HTML file has to be uploaded to your website’s root folder. On WordPress, the root folder is usually called public_html.
If you can access your web hosting files via a platform like cPanel, you can upload it directly to your server. Another option is to use an FTP client. Directions may vary a little depending on your web host so ask for help or use the HTML tag method because it’s easier.
In this tutorial, I assume you can access your web hosting files via cPanel.
Step 2
Log into your cPanel and select File Manager.

Step 3
In the server folder tree on the left side click on your root folder. On WordPress, the root folder is usually called public_html. You’ll now see the contents of your root directory on the right side. This is where you’ll upload the HTML file.
Step 4
On the top menu select Upload.

In the File upload window upload your file.

Refresh the directory. Your file should now be there.
Step 5
Go back to Pinterest to finish the process. Click Next in the Pick claim option window you left open earlier.
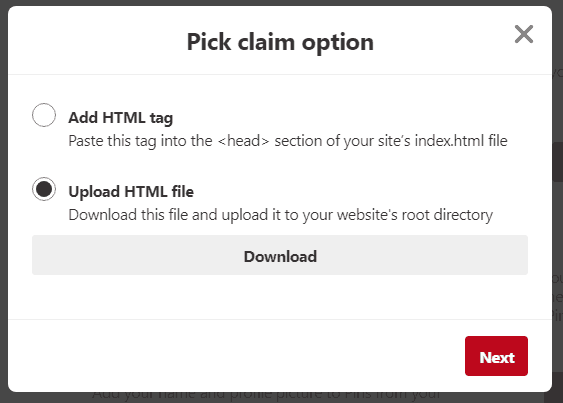
You’ll be taken back to the settings page and there should be a green confirmation that the review process is happening. You’ll receive a confirmation email. The process can take up to a day but generally, it happens within 30 minutes. My website was confirmed within 15 minutes.

There you go, that’s all there is to it. Now that your website is verified, how about applying for Rich Pins to give your pins another boost? Read my complete guide on Rich Pins to learn why Rich Pins are so powerful!
Did this help? Save it for later!


awesome post,twas really helpful.
Hi Junglesoulcollective, honestly speaking, your information was very helpful.
You made it seem so simple. I’m trying to see whether Pinterest can do anything for my review site’s traffic.
I review air purifiers. And I am trying to get a few more eyeballs on my content. Again, thank you.